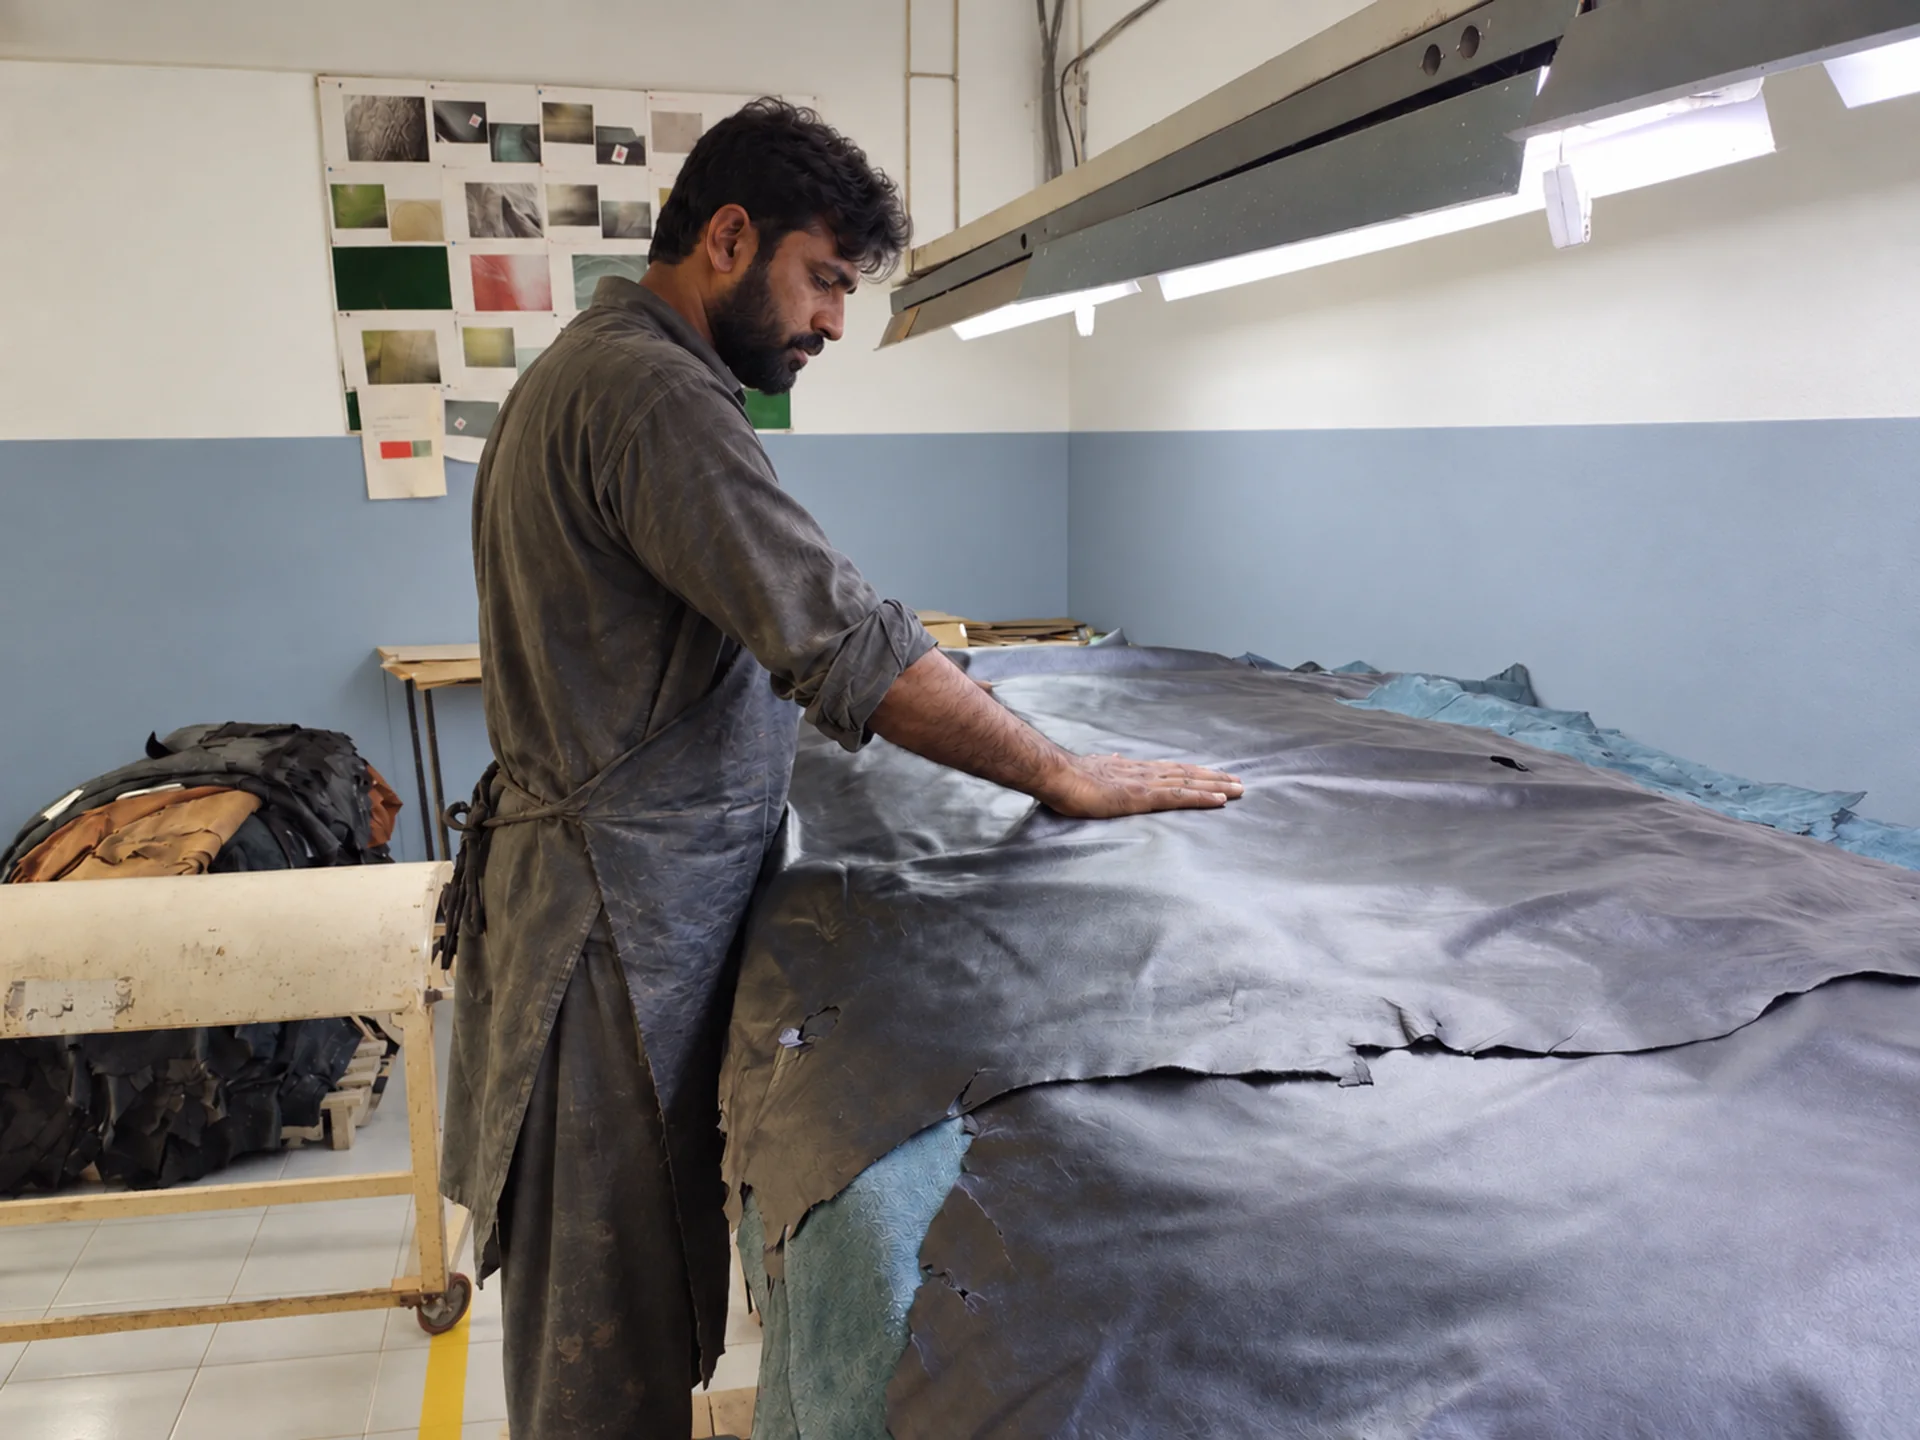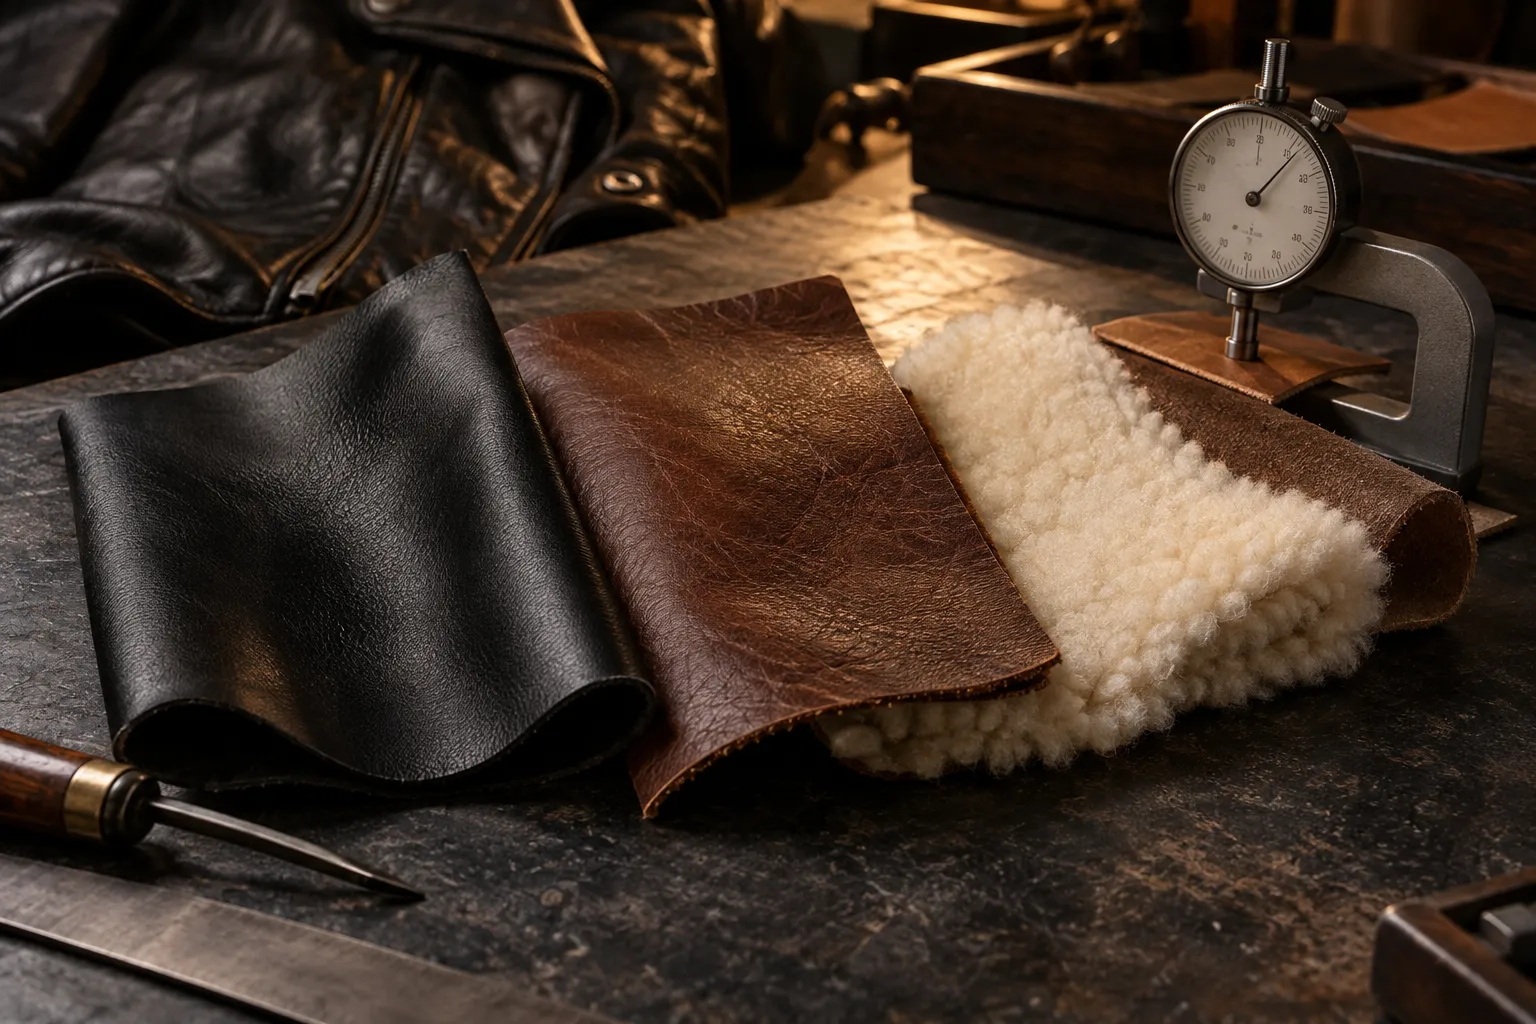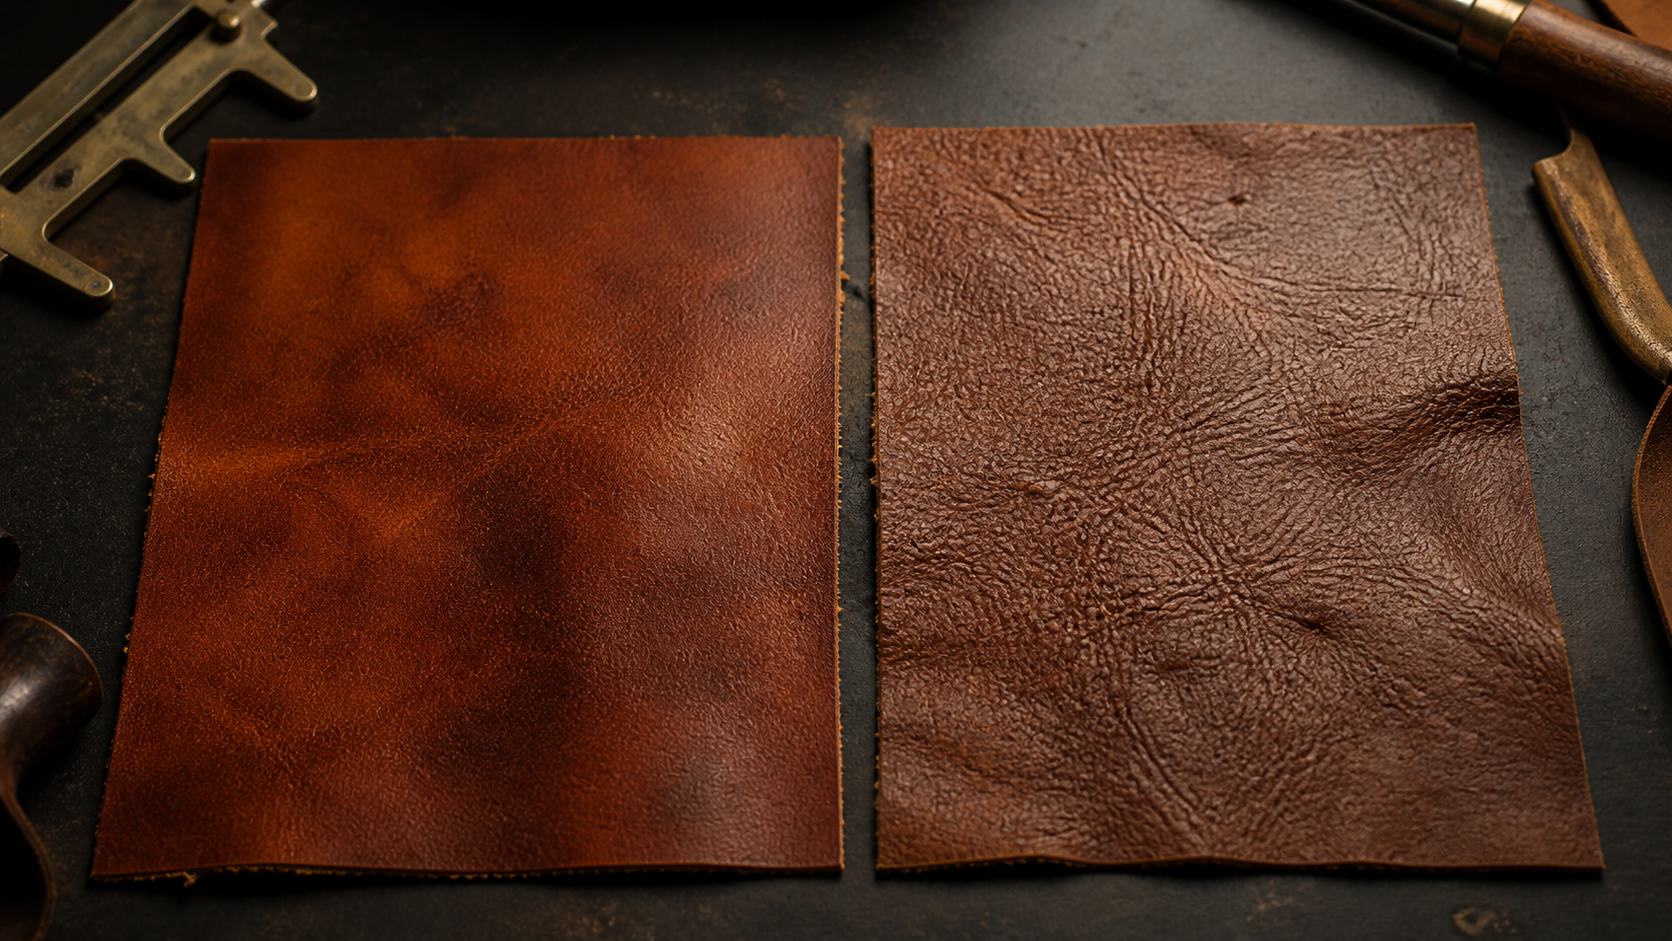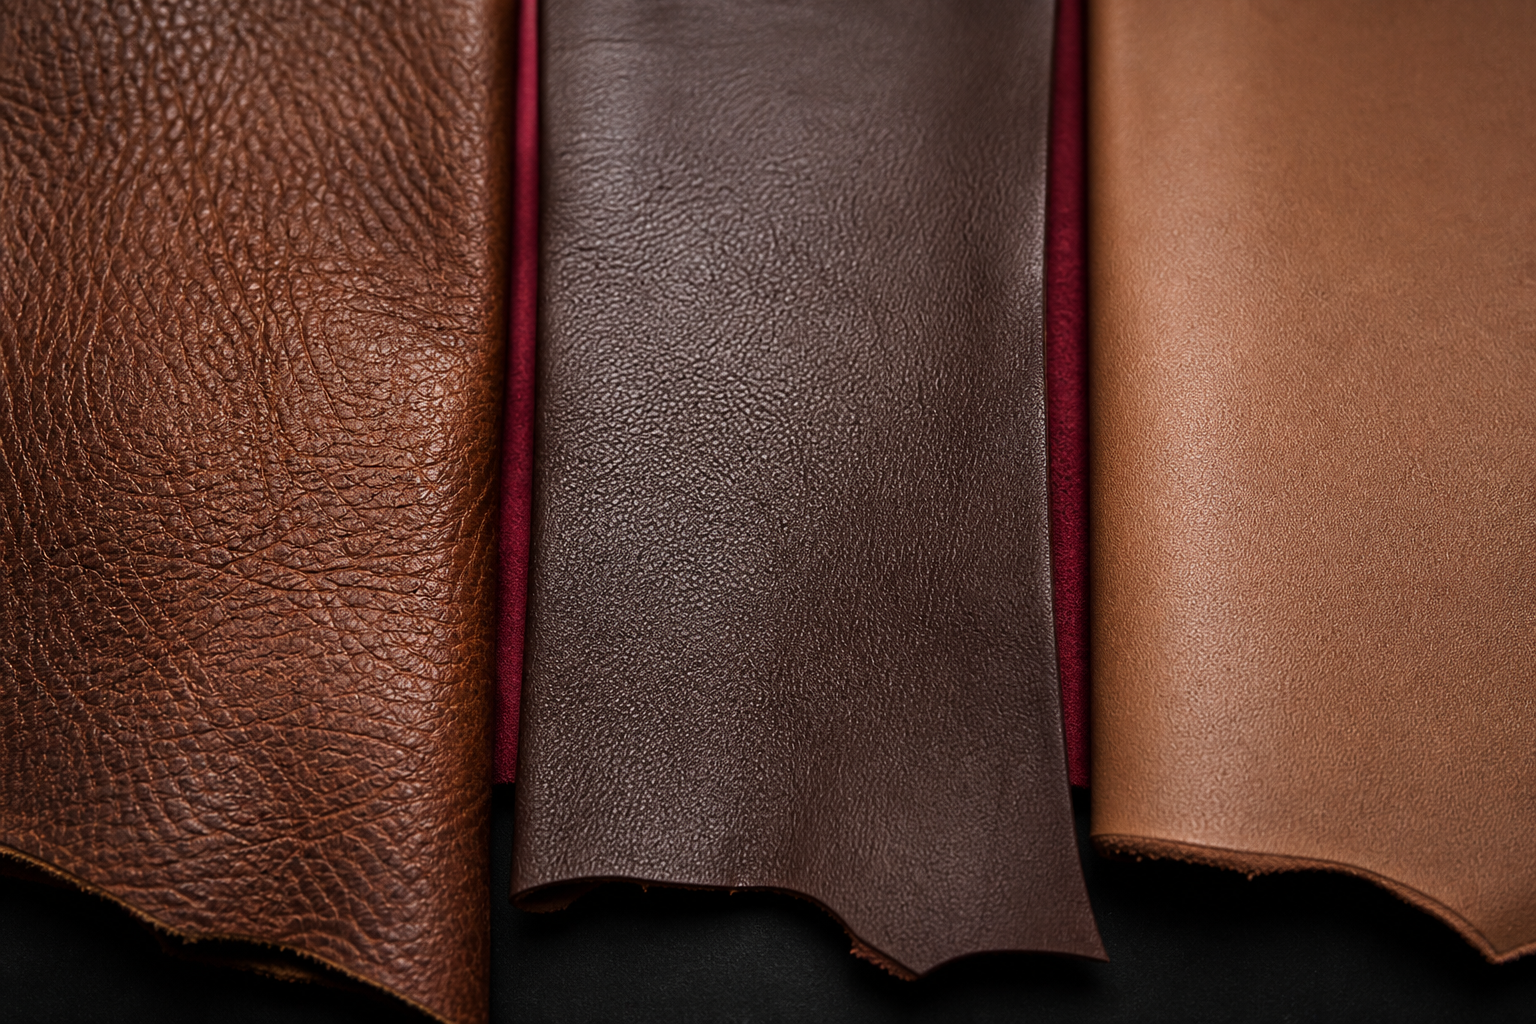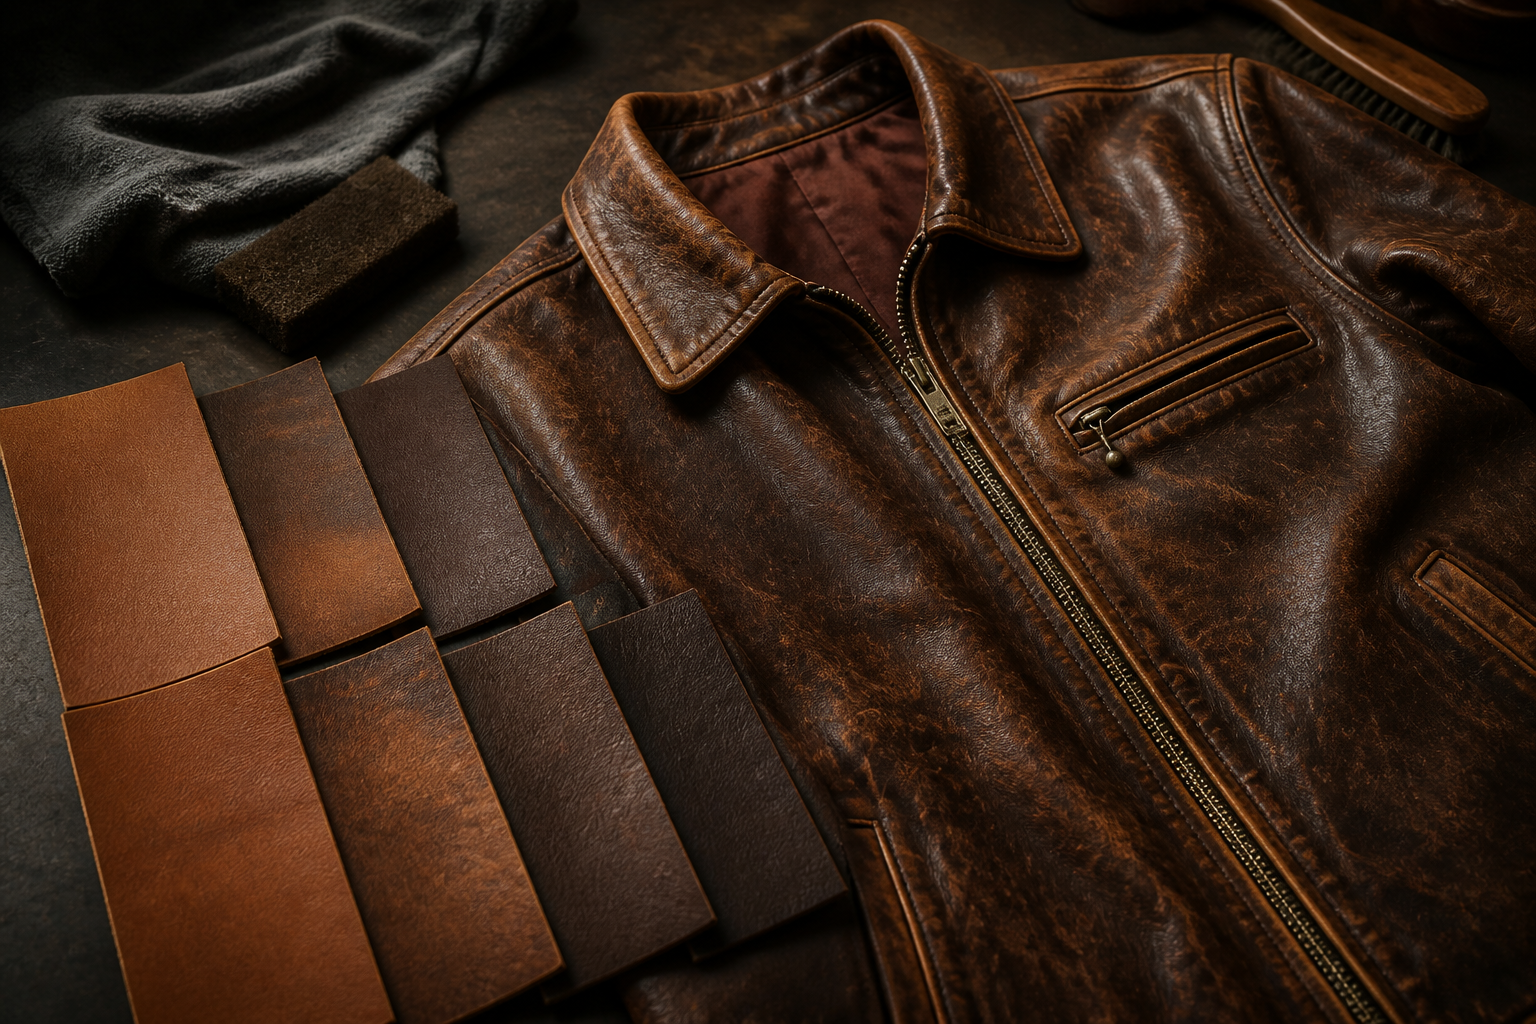
Short answer: distressed leather is genuine leather whose color, grain, gloss, softness or edges are intentionally varied to create a worn-in appearance. The effect may be developed at the tannery, on cut panels or after garment assembly using rubbing, abrasion, washing, waxes, pigments, wiping, spraying or combinations of these methods.
What “Distressed” Means
Distressing is an appearance treatment, not an animal species, hide layer or universal grade. Full-grain cowhide, corrected top grain, sheep Nappa, goat, nubuck and suede can all receive distressed finishes. A product listing should therefore state both the material construction and the effect.
Authentic-looking distressing concentrates lighter highlights and softened texture where an item would naturally experience friction: collar edges, cuffs, elbows, pocket openings, seams, plackets and hem. Deep random scratches, exposed weak fibres, peeling and uncontrolled cracking are damage—not premium vintage character.
Distressed Leather vs Naturally Aged Leather
New distressed leather is deliberately treated during production so it looks broken in from the first wear. Naturally aged leather develops patina through time, handling, ultraviolet exposure, flexing and care. Reclaimed or true vintage leather comes from an older item. These descriptions should not be used interchangeably in marketing.
Main Distressing Methods
| Method | Typical effect | Production control |
|---|---|---|
| Hand rubbing | Localized highlights at seams, edges and realistic wear zones | High control; artisan variation |
| Mechanical abrasion | Uniform or patterned surface wear and softened grain | Repeatable when pressure and media are fixed |
| Garment washing | Overall softness, seam contrast, creasing and tonal movement | Requires exact wet-process recipe |
| Two-tone wiping | Top color is selectively removed to reveal the base shade | Strong visual depth; rub fastness is critical |
| Wax or oil distressing | Rub-responsive highs and lows with vintage pull-up character | Sensitive to heat and migration |
| Spray and sponge effects | Mottled, shaded or antique color variation | Good placement control with approved master |
1. Hand-Rubbed Distressing
Skilled operators use cloth, brushes, pads or controlled abrasives to develop highlights on selected zones. Hand rubbing gives the strongest placement control and works well for limited premium production, but operator technique must be standardized with photographs and a sealed master garment.
2. Mechanical Distressing
Buffing wheels, tumbling media, sanding equipment or controlled friction can soften the grain and reveal the lower shade. Pressure, speed, media grade and treatment time determine the result. Excess abrasion reduces finish thickness and may weaken grain, seams or edges.
3. Garment-Wash Distressing
Washing the completed article can relax seams, create folds, soften handle and produce natural-looking color movement around construction points. The formula must be designed for the exact leather, lining, thread and hardware. Water, pH, temperature, drum speed, time, auxiliaries and drying all affect shrinkage and finish stability.
For the full process and wash-related risks, see our leather garment wash effects guide.
4. Two-Tone and Wiped Effects
A darker or lighter surface coat is applied above a contrasting base, then selectively wiped or rubbed away. This produces strong depth around grain valleys, seams and high points. The top layer must remain sufficiently anchored so normal handling does not remove it too quickly.
5. Wax, Oil and Pull-Up Distressing
Mobile oils and waxes create tonal change when the leather bends or is rubbed. This gives a naturally evolving vintage character with less destructive abrasion. However, heat migration, color transfer and panel variation require careful testing. Compare our detailed pull-up leather and waxed leather guides.
Choosing the Base Leather
Cowhide offers body, durability and pronounced grain for biker, workwear and heritage products. Sheep and lamb deliver a softer, lighter fashion drape but require gentler abrasion. Goat provides strength at lower substance with a characteristic grain. Nubuck and suede create softer tonal distressing through nap direction, brushing and wax effects.
Natural scars can support the vintage story, but open holes, weak flanks, deep cuts and loose grain remain defects. The cutting standard must define which natural marks are allowed and where they may appear.
Production Sequence
- Approve the concept: define clean, light, target and heavy distress limits.
- Develop the leather article: choose species, thickness, base dye, finish layers and temper.
- Test panels: confirm rub, flex, adhesion, colorfastness and response to the chosen process.
- Make a full prototype: evaluate real seams, hardware, lining, shrinkage and placement.
- Seal a master garment: photograph front, back and key details under controlled light.
- Standardize the recipe: record tools, media, pressure, time, chemicals and drying.
- Inspect bulk within limits: compare each lot to the approved light/target/heavy range.
Benefits
- Creates immediate heritage and vintage character.
- Makes simple silhouettes visually richer.
- Can disguise minor future scuffs within the intended aesthetic.
- Produces individual garments without abandoning collection consistency.
- Supports biker, workwear, western and premium casual positioning.
Risks and Common Defects
- Over-distressing: weak grain, exposed fibres or premature failure.
- Random placement: artificial-looking wear in areas that do not naturally rub.
- Excess color transfer: unstable top color marks lining or clothing.
- Panel mismatch: sleeves, body and collars fall outside the approved tonal family.
- Shrinkage: wet processing changes measurements or twists panels.
- Hardware damage: tumbling marks leather or removes plating.
- Finish peeling: abrasion exposes poor adhesion rather than a controlled base shade.
- Inconsistent handle: bulk pieces range from soft to boardy.
Buyer and QC Checklist
How to Specify Distressed Leather
Do not write only “vintage distressed brown.” State the species, grain construction, thickness, temper, base and top shades, gloss, hand feel, approved distress method, placement map, intensity limits, colorfastness, adhesion, shrinkage and measurement tolerances. Attach controlled photographs and seal both a leather swatch and finished garment.
Because variation is intentional, define the acceptable range. A useful production standard includes one light-limit sample, one target and one heavy-limit sample. Anything outside that family should be rejected or separately approved.
Care
Dust with a soft dry cloth and blot spills instead of rubbing them. Avoid household cleaners, alcohol, direct heat and aggressive polishing, which can remove the intentional top effect. Test any conditioner in a hidden area because it may permanently darken highlights. Use a specialist leather cleaner for garments.
Final Takeaway
Premium distressed leather is controlled, repeatable and structurally sound. Its wear marks follow the product’s construction and its performance survives flexing, rubbing and care. Buyers should approve the distressing on a finished sample, document the placement and intensity, and inspect bulk against a defined visual range.