This checklist is for fashion brands and private-label buyers developing leather jackets. Use it with your style-specific specification and agreed inspection requirements. It does not certify protective motorcycle clothing or replace specialist testing.
1. Identify exactly which sample you are approving
Start with the style code, sample number, revision date and intended size. A development sample tests an idea; a fit sample checks shape and measurements; a pre-production sample should represent the agreed production materials and construction. A showroom photograph alone cannot establish all three. Ask which stage you have received and list anything that is still provisional.
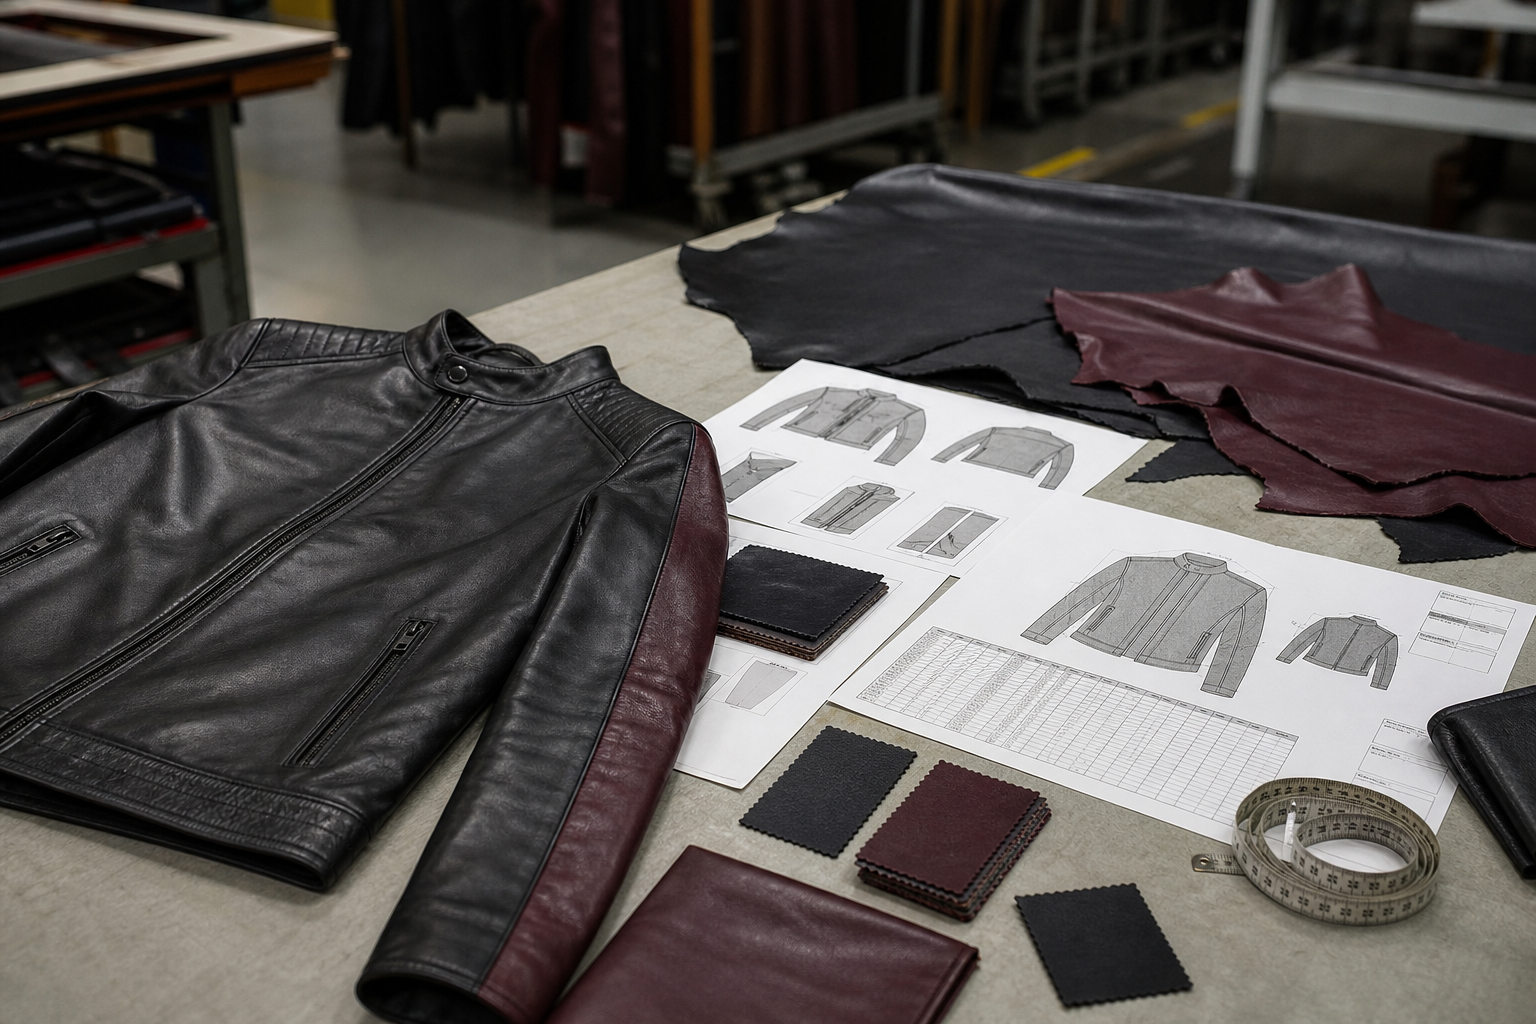
Keep one current tech pack and a dated bill of materials. If the jacket uses a substitute zipper or temporary lining, record it as an open item rather than silently approving it. The final reference should connect the physical sample, material references, measurement sheet and written comments.
2. Approve the leather as a physical material
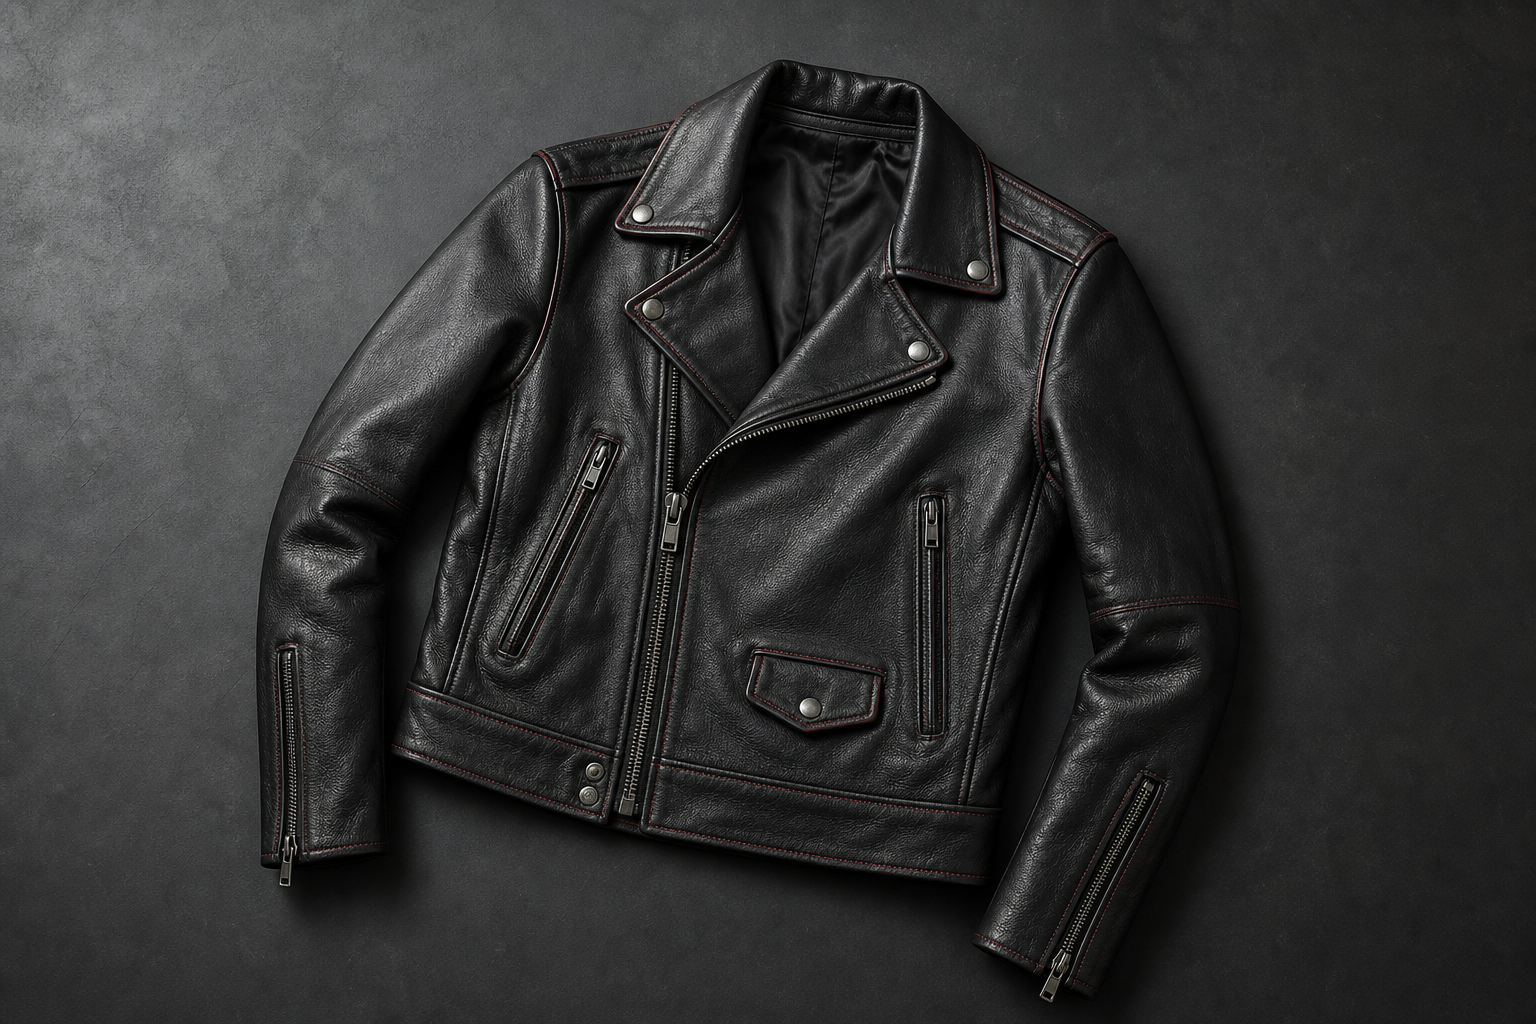
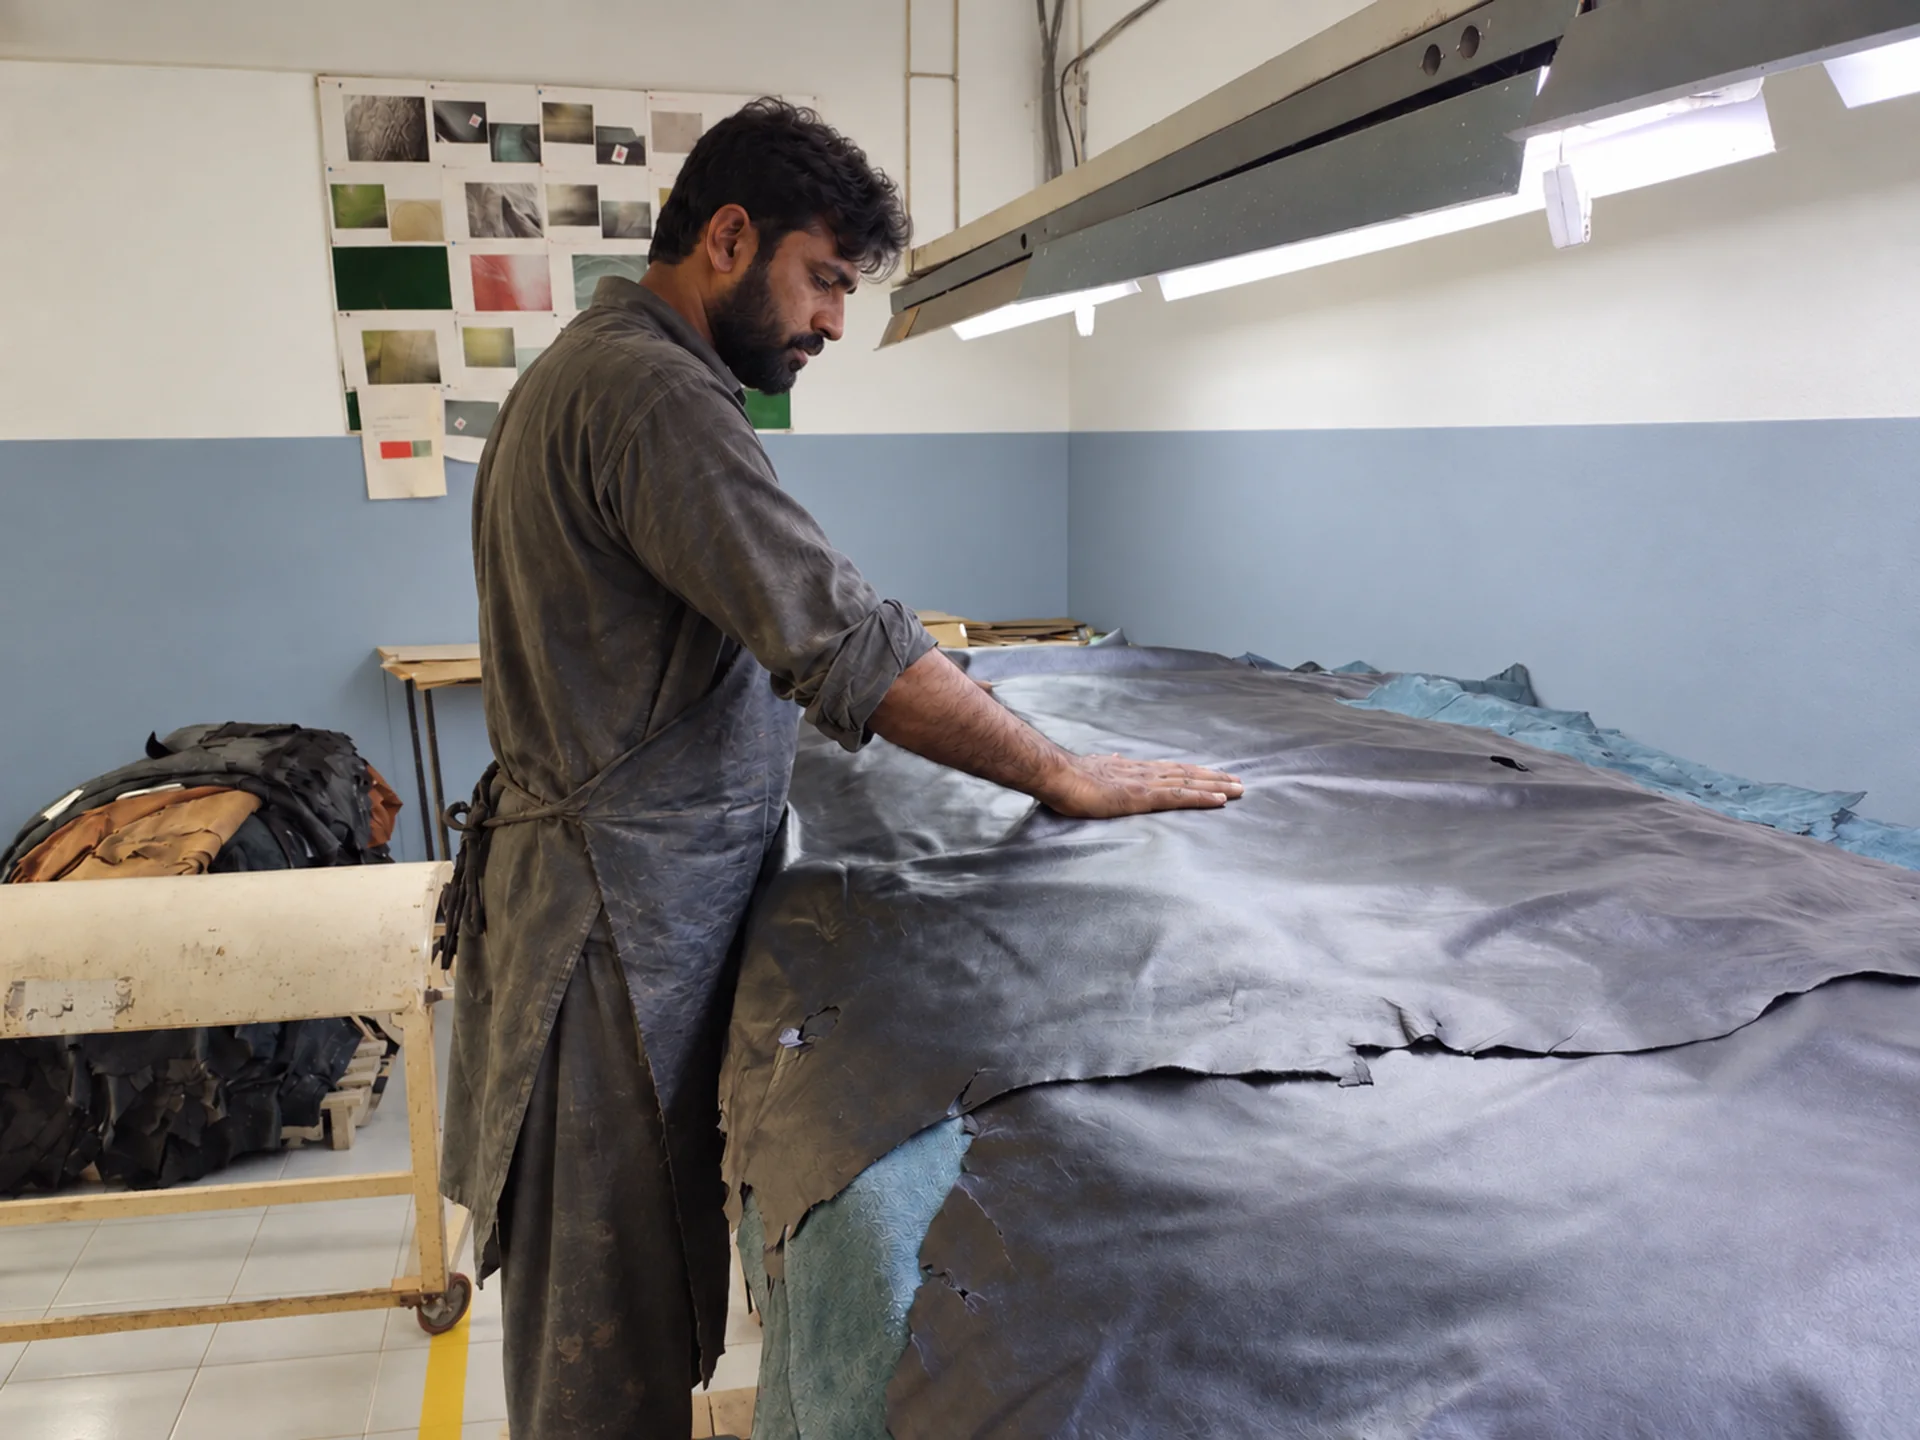
Compare the sample with your approved leather swatch under consistent lighting. Review species, finish, thickness, hand feel, drape and the acceptable range of natural grain and shade variation. Check both fronts, sleeves and collar together: an attractive individual panel can still look mismatched beside the others.
Discuss visible marks, panel placement and colour variation before bulk cutting. Ask how thickness will be measured and recorded; a colour name or a photograph is not a complete material specification. Where performance tests are required, agree the test method, sample and acceptance criteria with the supplier and appropriate testing provider.
3. Test fit while the wearer moves
Measure the garment using the same method shown in the tech pack. Check chest, shoulder width, body length, sleeve length, bicep, cuff opening and hem. Record the actual measurement, target and agreed tolerance for each point. Do not copy a generic tolerance across every style and measurement.
Fit the jacket over the clothing your customer is likely to wear. Zip it fully, sit down, reach forward and raise the arms. Look for sleeve restriction, a collar that pulls back, pocket openings that gape and lining that holds the outer shell. Check a puffer with its intended insulation because loft affects fit and ease.
4. Review size grading separately from the base sample
One well-fitting medium jacket does not prove that the smallest and largest sizes work. Agree which size-set samples need review and compare key measurements across the size range. Check sleeve length, armhole shape, collar proportion and pocket placement, not just chest width.
Confirm whether the size chart lists body measurements or finished garment measurements. Keep size names, grading rules and measurement diagrams consistent across the factory specification, sewn label and customer-facing product information.
5. Check the seams, lining and everyday functions
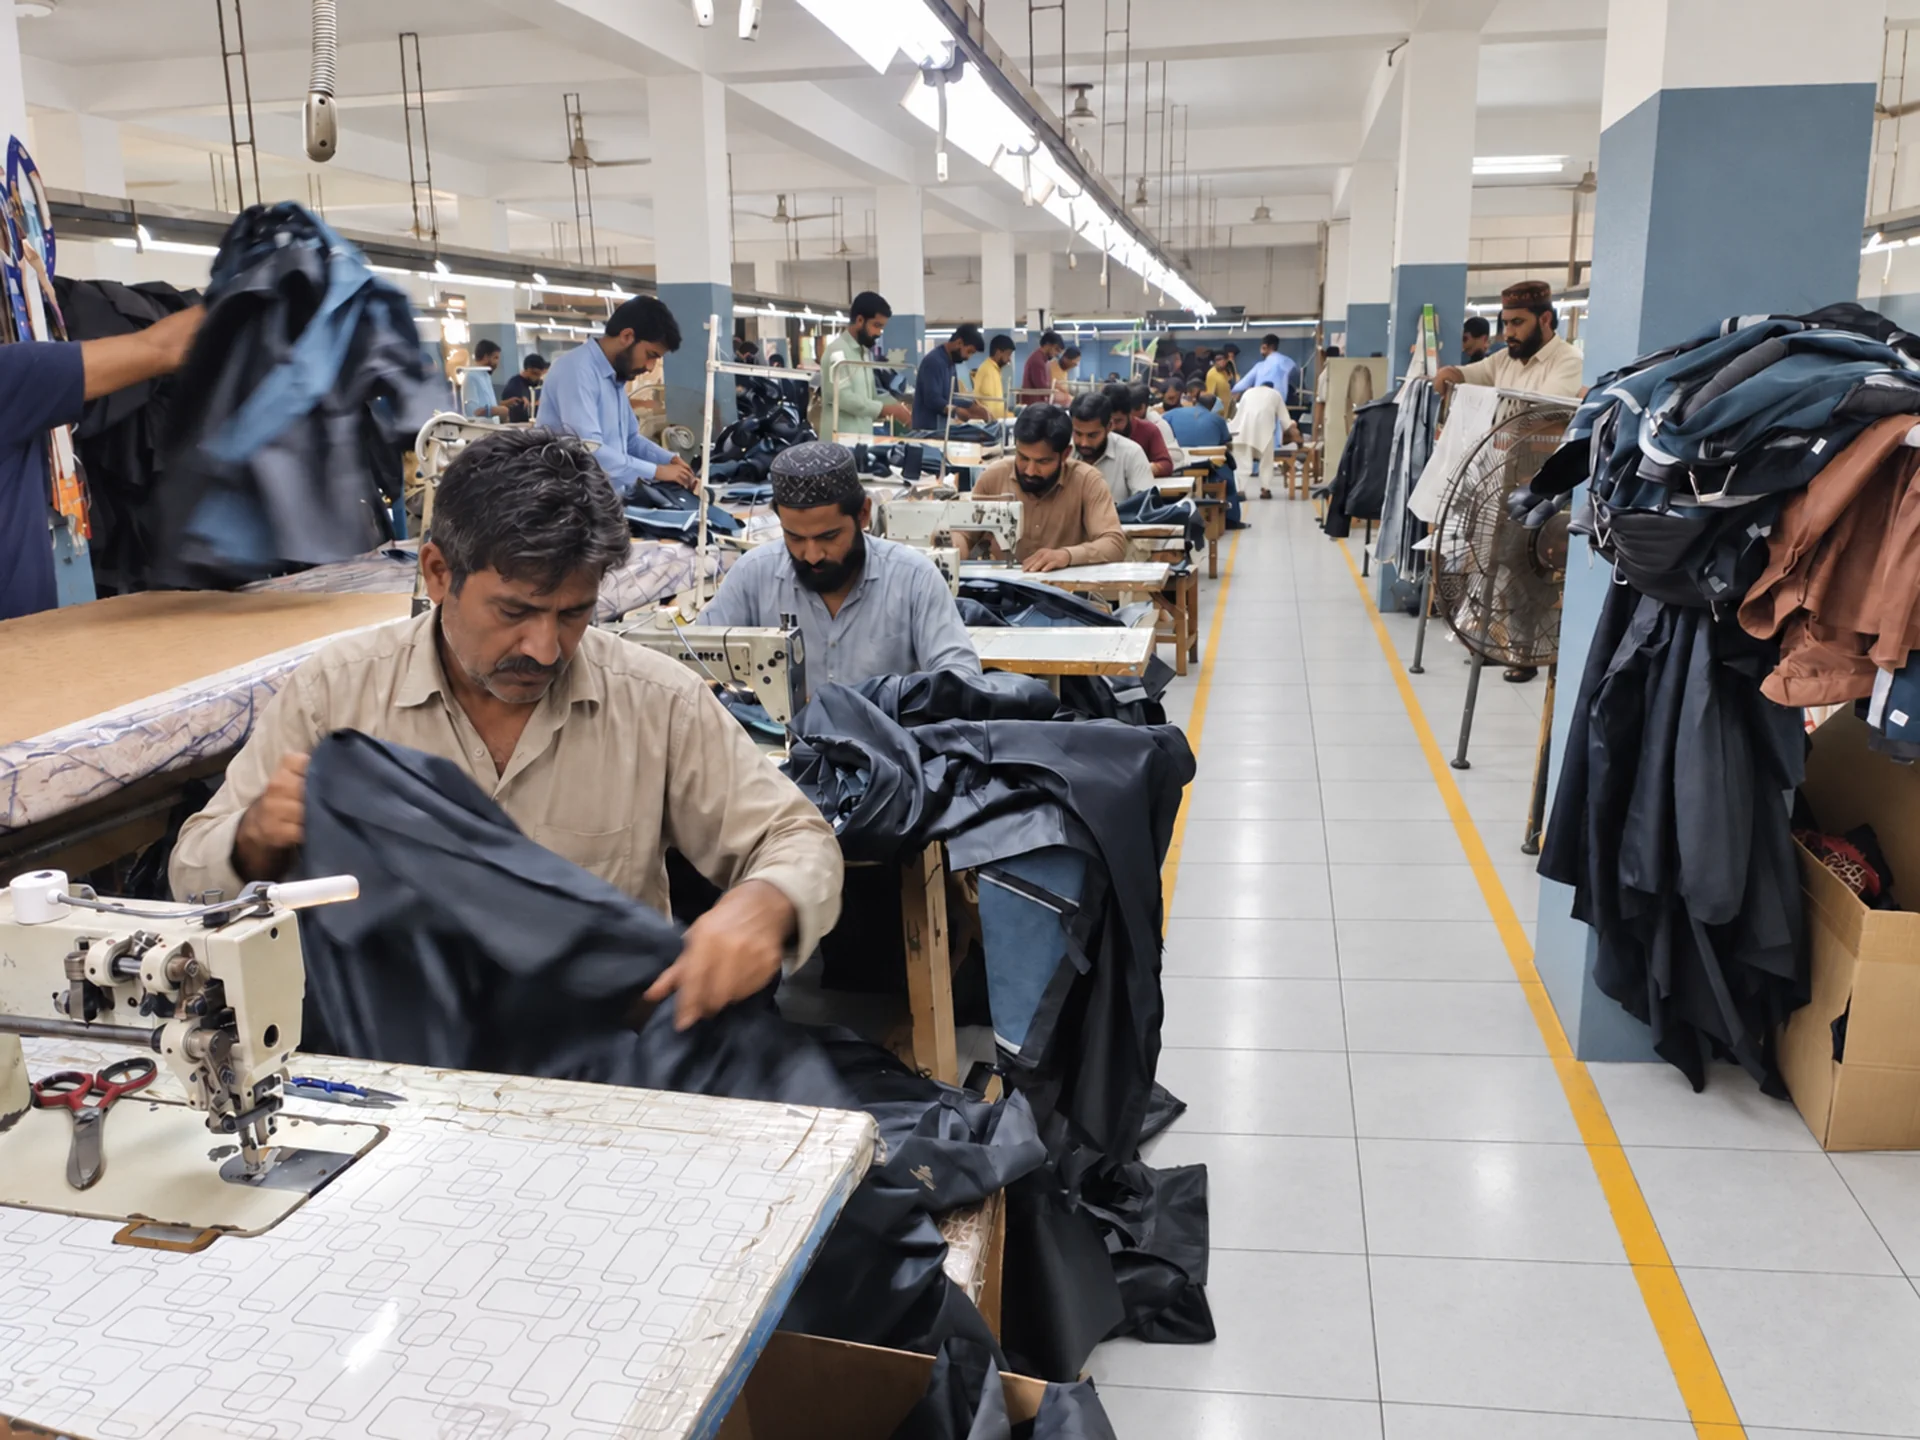
Examine stitching along curved seams, pocket corners, cuffs and the hem. Look for skipped stitches, loose thread ends, puckering, visible needle damage and uneven seam alignment. Agree the construction and appearance standard for the actual leather instead of assuming that every material will sew the same way.
Turn the jacket inside out. The lining should allow movement without hanging below the hem or pulling at the sleeves. Check pocket-bag attachment and access, sleeve-lining twist, internal labels and any sharp or exposed hardware. Open and close every pocket; a decorative photograph does not show whether a hand fits comfortably inside.
6. Confirm hardware, branding and colour matching
Operate the main zipper through its full travel and check the bottom engagement, top stops and puller. Test snaps, buckles and adjusters without forcing them. Compare finish and colour against the approved trim references, and confirm that metal parts do not have sharp edges.
Review logo dimensions, placement, spelling, artwork version and application method. Check woven labels, embossing, hangtags and packaging together. A correct logo on the wrong colour patch is still a change that needs approval. Any buyer-specific testing or labelling requirements should be settled before production release.
7. Write corrections that the factory can act on
Use numbered comments tied to labelled photographs and measurement points. Replace “make the fit better” with a specific observation, the required target and the agreed measurement method. Identify which comments affect the pattern, which affect materials, and which concern workmanship.
Send one consolidated revision record. Separate approved details from changes still requiring evidence. When a correction changes fit, material or construction, agree whether a revised physical sample is needed. Photos can help confirm a label placement change; they cannot fully establish hand feel or movement.
8. Release production against a controlled reference
Use clear outcomes: approved for bulk; revise and resubmit; or approved only subject to listed conditions. For conditional approval, state exactly what can proceed and what remains on hold. Do not let a short message such as “looks good” stand in for a production decision.
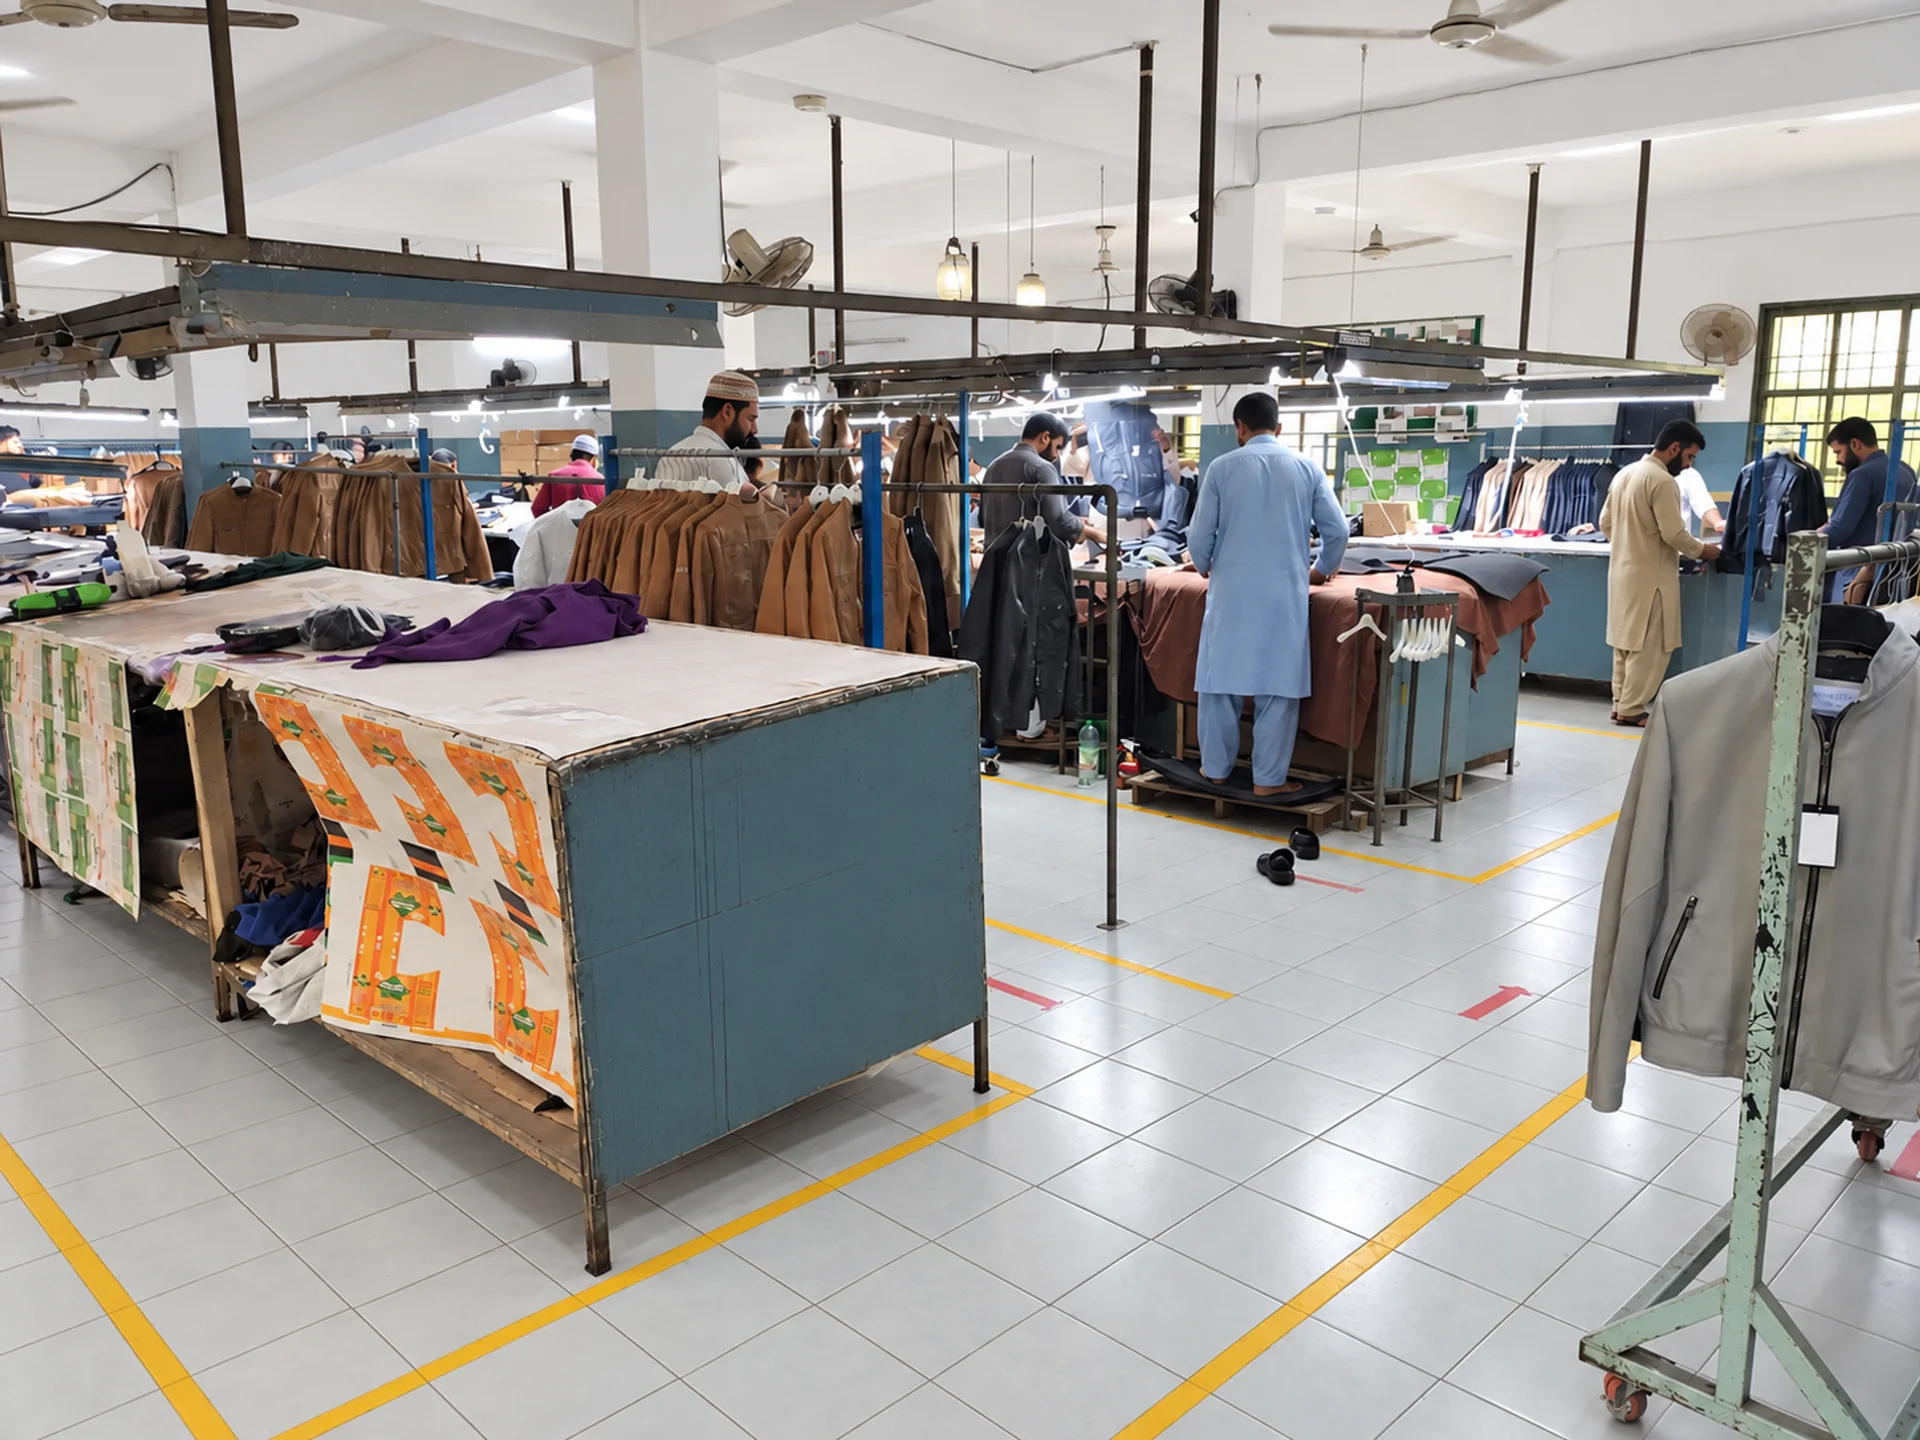
Keep an identified sealed sample or equivalent agreed reference, the final tech-pack revision, approved materials and the written release together. Confirm quantity by size and colour, packaging, delivery terms and the production schedule separately. Sample approval does not replace in-process checks or a pre-shipment inspection.
A sample approval record you can copy
| Record | What to enter |
|---|---|
| Identity | Style code, sample ID, sample size, date and tech-pack revision |
| Materials | Approved leather, lining, insulation and hardware references |
| Measurements | Target, actual result, tolerance and measurement method |
| Corrections | Numbered issue, photo reference, required action and responsible person |
| Evidence | Revised sample or agreed evidence needed to close each issue |
| Decision | Approved, resubmit, or conditional approval with explicit restrictions |
| Release | Approver name, date, final revision and retained sample location |
Questions buyers ask before signing off
Can I approve a leather jacket from photographs?
Photographs help review appearance and document corrections. They cannot fully demonstrate leather feel, lining comfort or fit in motion. Agree which checks require a physical sample and which can be closed with documented evidence.
What happens if a material changes after approval?
Ask for the proposed substitute to be identified and compared with the approved reference. Record the effect on appearance, performance, cost and timing, then agree whether another sample is needed before the change enters production.
Does an approved sample guarantee every bulk piece?
No. The sample defines the reference. Bulk production still needs agreed checks for materials, measurements, workmanship and packing. Use our pre-shipment QC checklist to plan the next stage.
Build your approval brief
Start with our leather jacket tech-pack guide, compare hide thickness choices, and see the sample-to-production workflow. Explore jacket manufacturing options or choose a reference from our published design portfolio.